

Summer is practically here! Show your old boat some love!
Posted by Kevin Messina on 6th Feb 2020
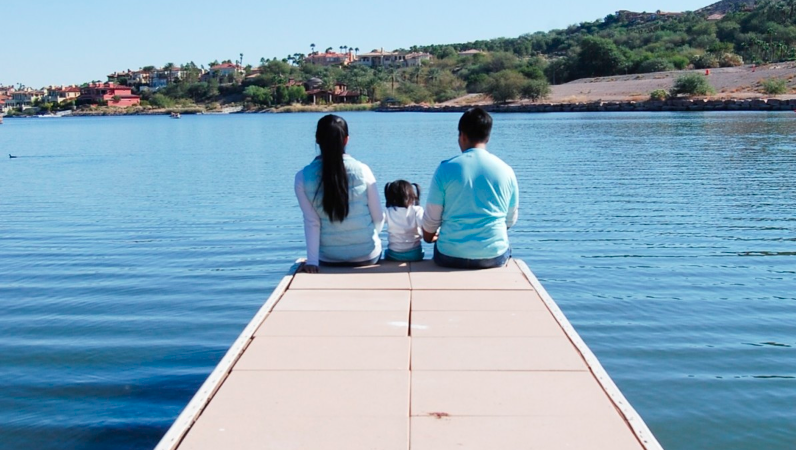
So, as it does every year since the dawn of time, summer is coming. Really, it's always coming sooner or later, right? I suppose it's just a matter of how far in advance we want to be ready for it.
Personally, I live in Florida, where the summer always comes earlier and stays a lot longer. Down south, most boats get used for more of the year, but more to the north, where the winters are harsher, people will put their boats into storage. From my conversations with those folks, it appears that bringing out the old skiff each year is somewhat of a ritual.
During late winter and early spring, thoughts of long days on the water start filling the minds of avid boaters and it becomes necessary to begin preparing the vessel for its upcoming season. Generally, safety and performance are top of the list.
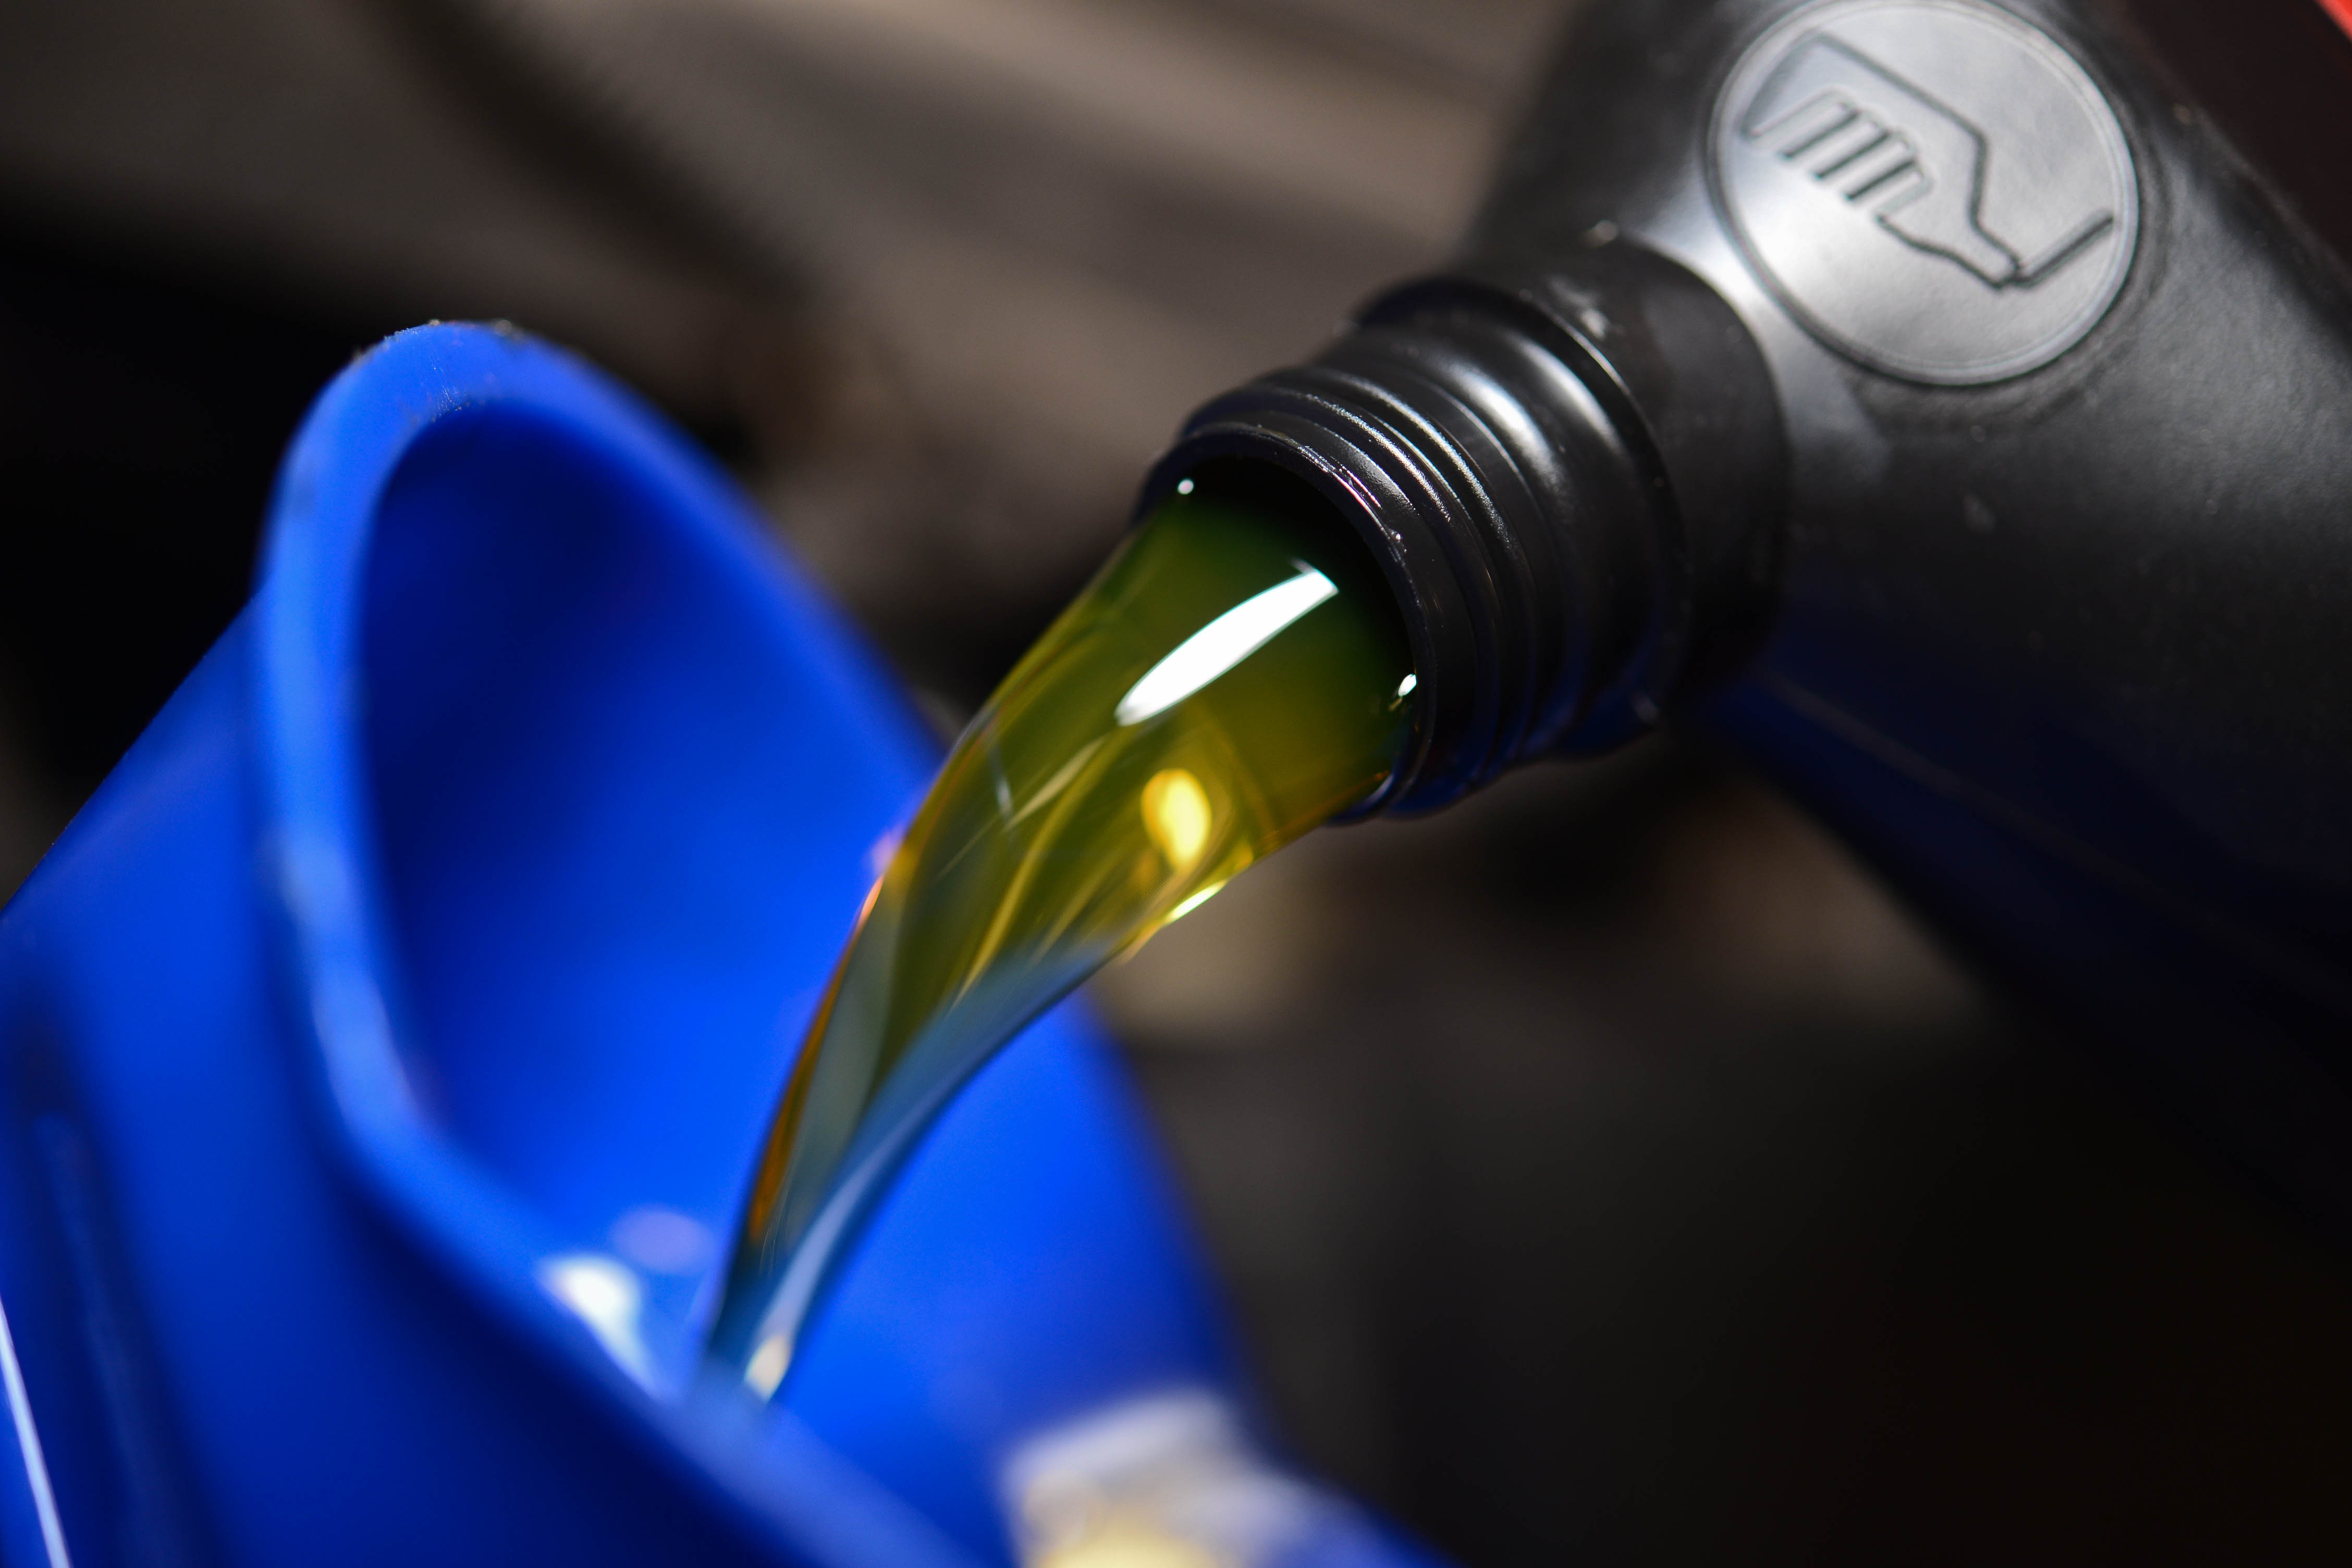
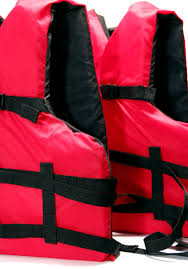
Oil changes, battery tests, lighting, flotation devices, and tune ups are the first practical needs for all.

Then, it's all about the looks and style of your baby! Although a good cleaning is always recommended prior to storage, you are going to want to give your boat a good scrubbing when you pull off the cover. Finding a good cleaning product is essential for removing any mold or mildew that may have accumulated on the seats or interior panels.
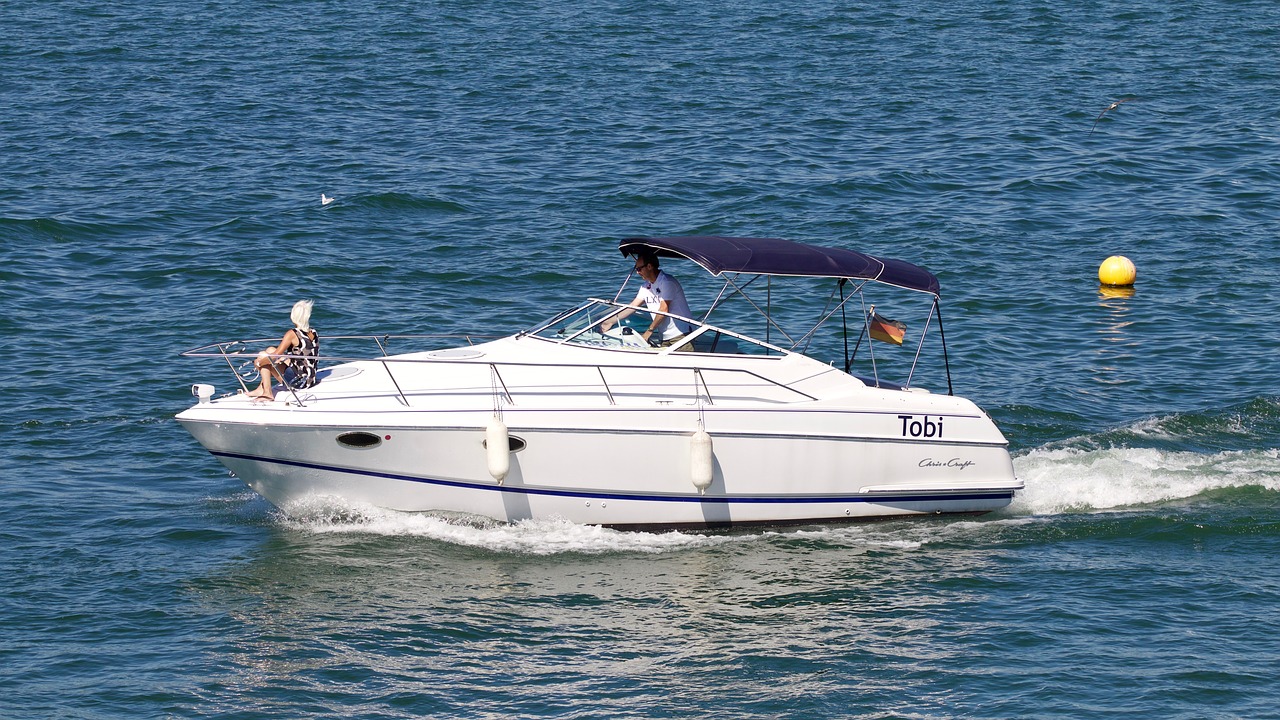
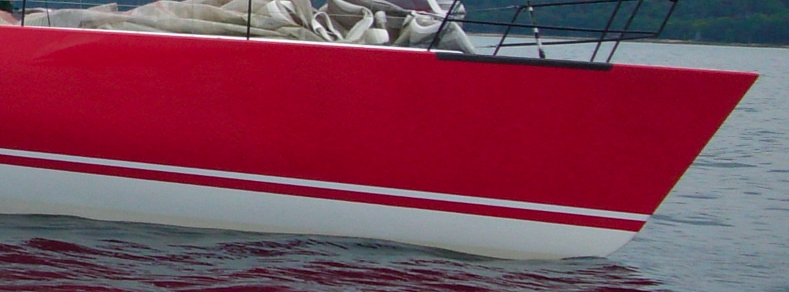
Now the outside....after all, this is what everyone on the lake is gonna see, right? The one thing that can make your boat look older than it is, are old, faded stripes. This is the same situation for RVs as well. Lots of UV exposure, salt water, cleaning and general abuse by the elements takes its toll on vinyl stripes and graphics. Sometimes, you may be able to restore the original luster of your boat stripes and decals. If the vinyl stripe tape has not completely deteriorated, some detailing products may bring things back to life. Just remember to read labels. Many detailing products contain petroleum distillates, which can be harmful to soft vinyl seats, different plastic trims, vinyl striping and decals, and rubber. Remember, your boat graphics are made of premium vinyl if they aren't painted on or incorporated into the gel coat.
Even the most simply designed boats usually have a stripe or two at or near the waterline. This is usually to accent the interior color, the color of a canvas top or even to accent the bottom paint used to deter barnacle growth. Either way, these stripes for your boat take a beating. They are usually solid stripes in a couple sizes for visual interest, but sometimes 2 or more colors will be used.
If you decide to give your boat stripes and graphics a makeover, we have a wide variety of professional grade stripe rolls at Stripeman.com. With some patience, a bit of heat, and some good work ethic, one can bring the looks of their boat back from the abyss. Check out these new rolls available.
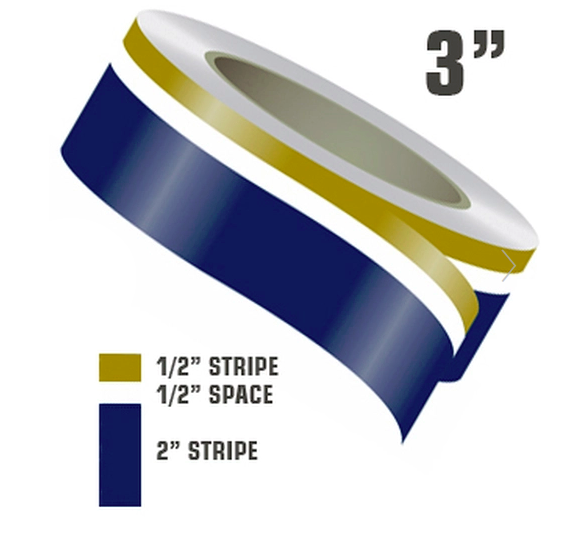
We have created a bold waterline stripe that can be used on vehicle applications as well. HERE is the product link. They are available in several common color combos.
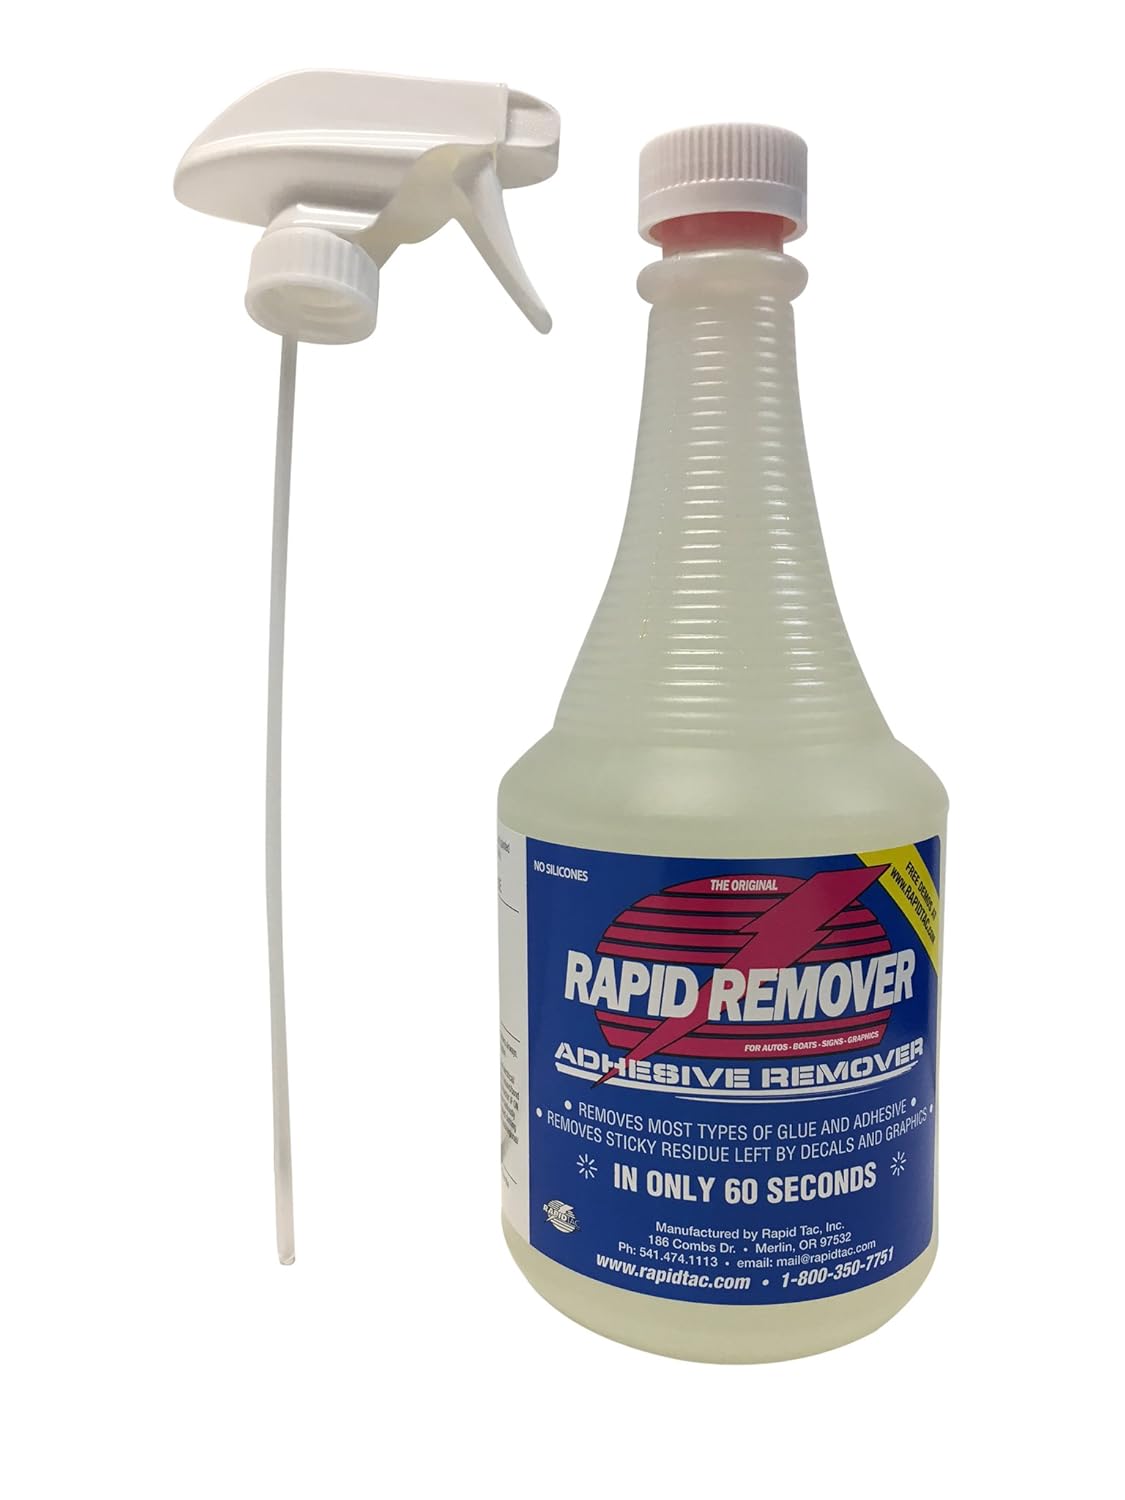
To remove old vinyl boat striping, start by just peeling. I've been surprised a time or two when the old stripes just peel off and leave the surface clean. This is not the norm, so don't get too excited just yet. Typically, it takes a pretty good amount of heat to soften the vinyl stripes and help release the adhesive. During this stage, use a heat gun and warm the surface to about 140 - 150 degrees. Usually, hot enough that you can touch it but not leave your hand down for long. Then start peeling the old stripe. Move slowly enough so that the stripe does not break. Also, experiment with the direction you pull. I cannot overstate this one enough. Every stripe installation is different and the adhesive will respond differently when removing as well. Usually, I pull straight away from the surface at 90 degrees to start. If the glue stays behind, try angling your pull direction a bit forward or backward against the direction of the pull. Again, go slowly. Getting the glue to come off with the stripe tape is worth slowing down on removal. Once the marine pinstriping has been removed, you may have some residual glue left behind. You can use an adhesive remover (obtained at your local automotive paint supplier or other large online corporate giant) or a slow dry enamel reducer.
Now it's on to installation prep. Start by removing any oxidation that you can. Continue working the surface until the cloth you are using comes up clean. Next, use the finger test. Try dragging a clean finger across the surface. You should get a nice squeaky response from the surface. Now you are ready to install your new vinyl boat stripes. Some have been able to install their new stripes over the old ones. Be warned though. The new stripe is no thicker than a coat of paint and will show imperfections in the old stripes such as cracking, peeling or gouges from that bump on the dock. Make sure the surface is warm enough to work, but cool enough to be forgiving. If the temp is too cold, your boat striping may break while you stretch it into place. If it's too warm, the adhesive on your new boat graphics will become very aggressive and not give you much leeway. Optimum temperature for installing would be 70 to 80 degrees. Take your time, work slowly, be patient with yourself and you will achieve professional results in restoring your old boat stripes on installing new ones.

