
Awesome DIY Racing Stripes: Prep Is King!
Posted by Kevin Messina on 6th Sep 2017
Racing stripes, rally stripes, lemans stripes… Call them what you will but it really doesn’t matter how you name them, they look awesome! Racing stripes can completely change the look of a vehicle from a daily driver to an aggressive looking road or track driving machine.
Typically, these types of graphics are a large single or double stripe design that runs the length of the vehicle’s upper surface. Some will finish on the hood and trunk lid, while others will wrap the bumpers.
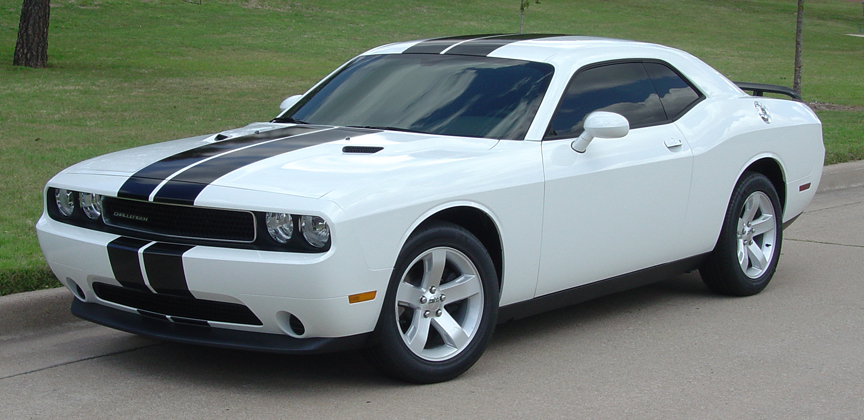
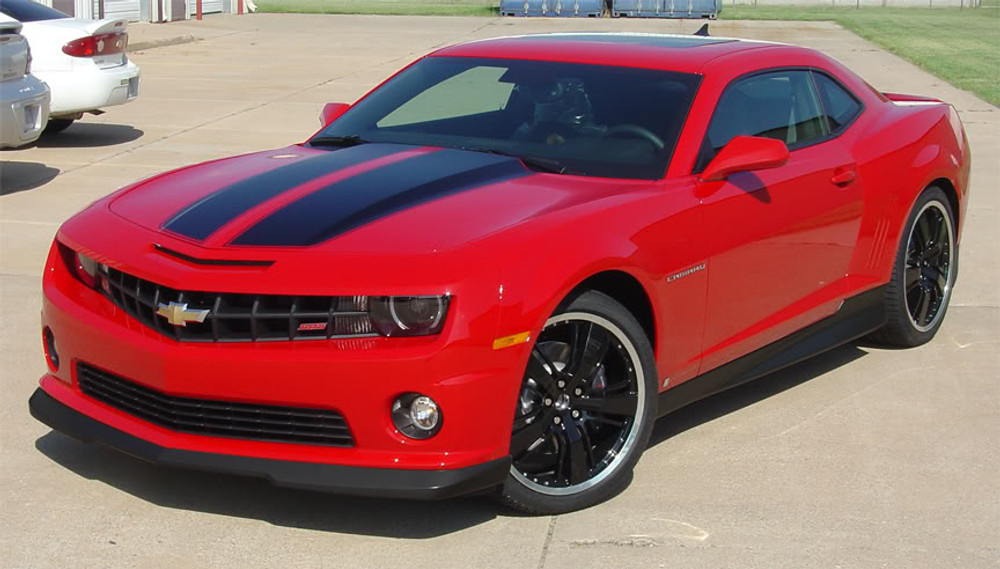
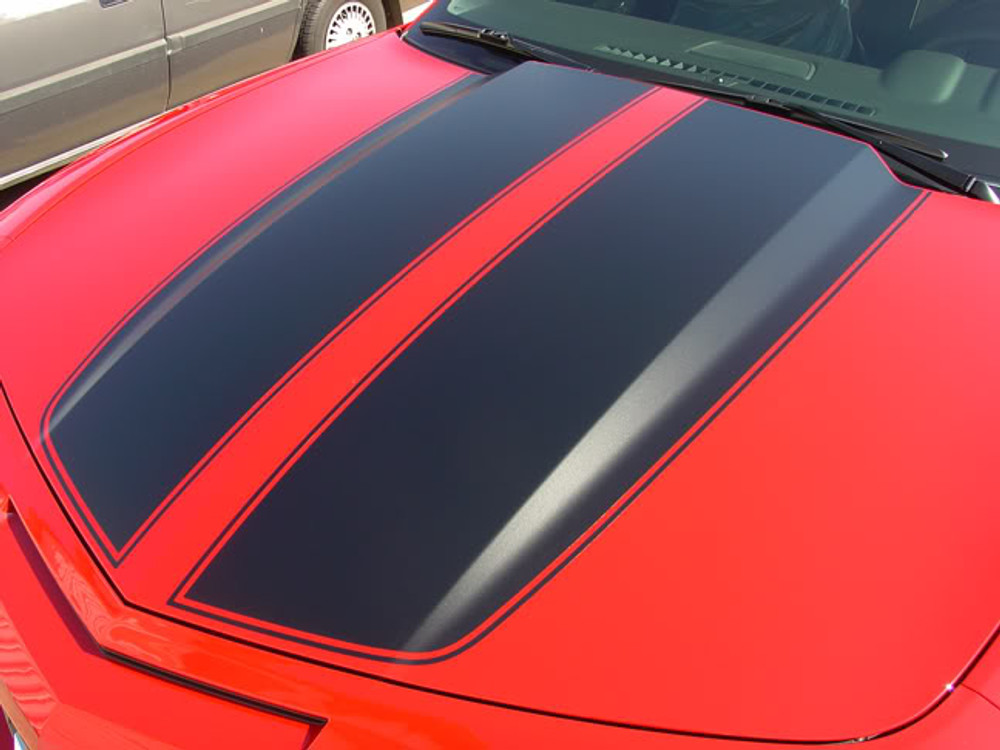
Historically, GM racing stripes have been placed on the hood and trunk only. They normally have finished ends with a small accent stripe bordering the main line. A good example of this is shown on the Chevrolet Camaro Racing Stripes below.
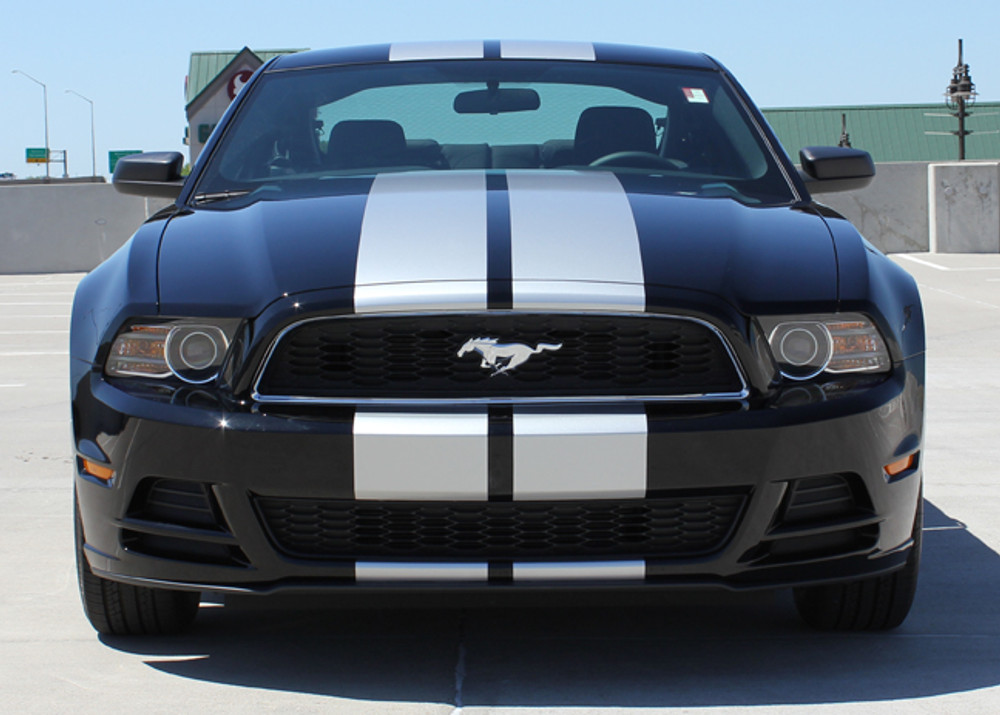
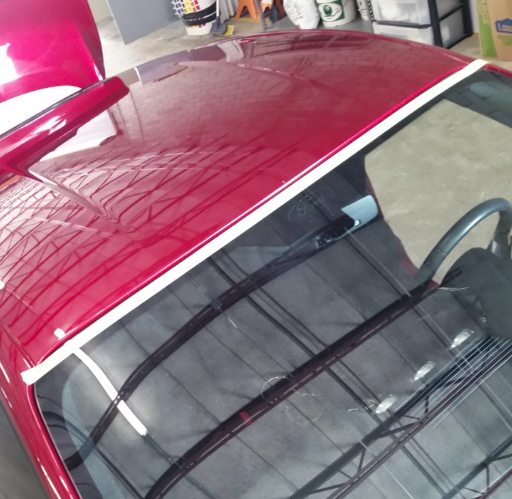
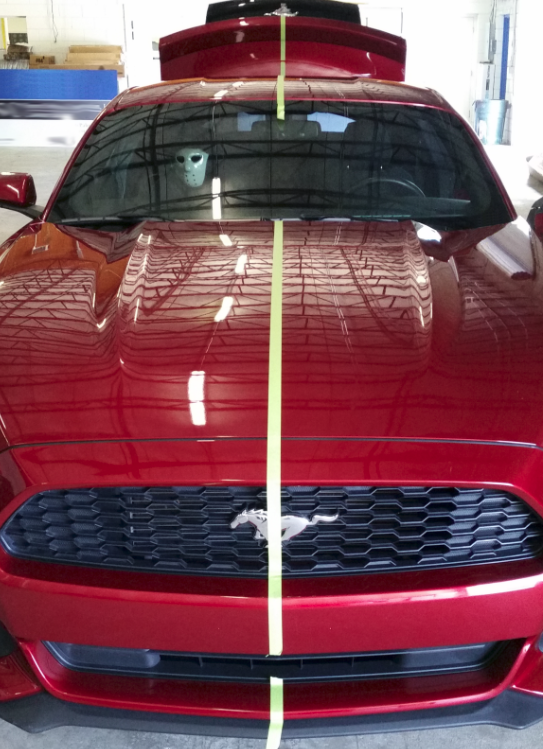
Ford has done this configuration as well but, more often opts for the full bumper wrapped application. Check out the Mustang Racing Stripes that completely wrap the body, including bumpers and roof.

These are some common applications but there are no hard, fast rules that determine the configuration of your racing stripes. You can create your own custom rally stripes with solid stripe rolls, or search for a model specific kit that fits your car. The advantage to a model specific package is that there will be minimal, if any, trimming to be done during installation.
So, once you’ve decided on a design, it’s time to prep your ride. There is much information available in the way of installing graphics and racing stripes, but very little detail in pre-installation preparation. So, we will devote the remainder of this blog to that specifically.
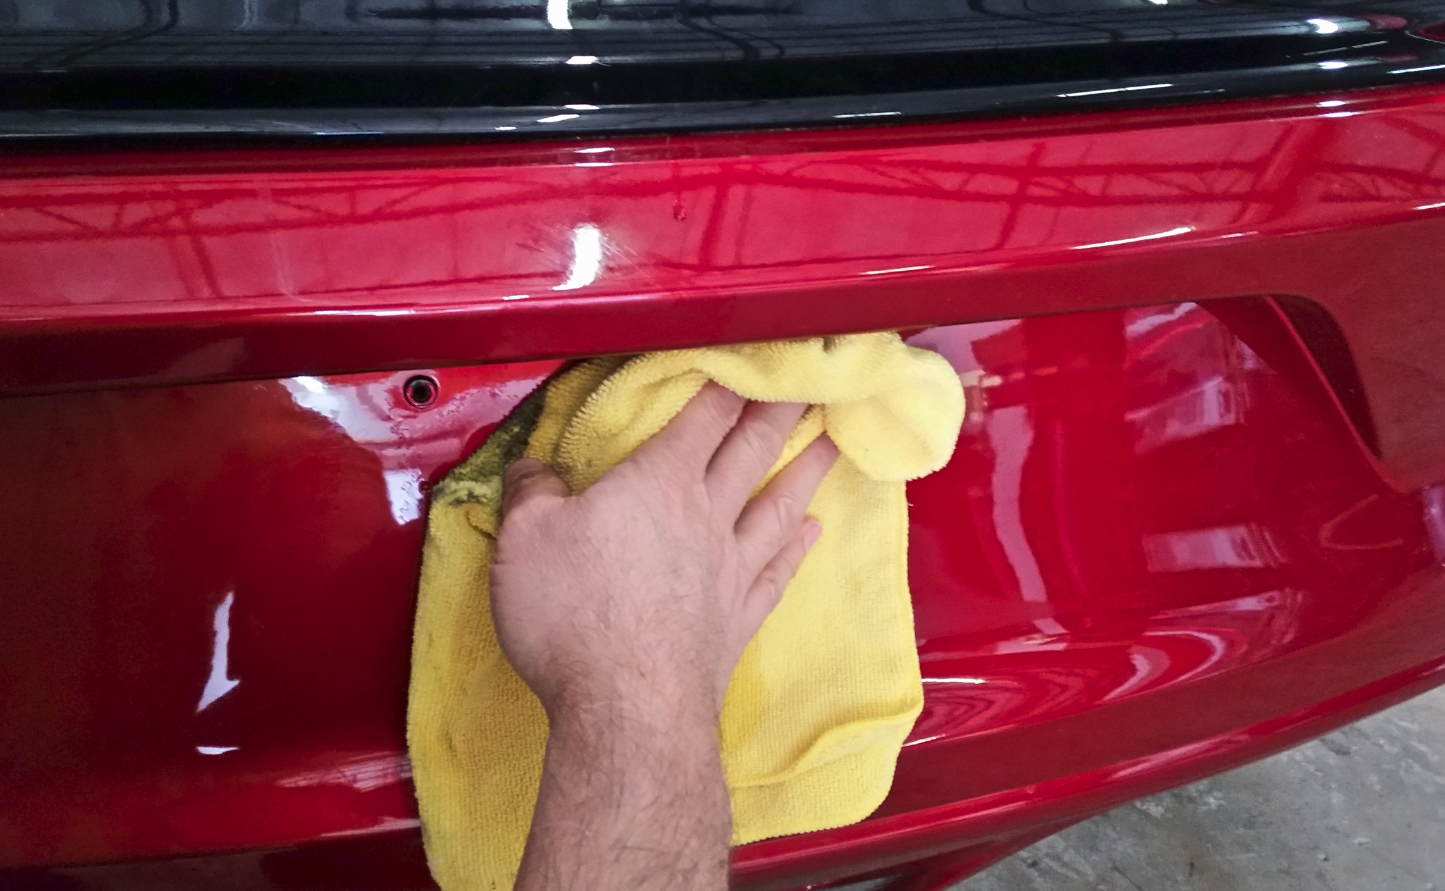
Start by washing the car or truck thoroughly. Make sure to get the door jambs and in all crevices where dirt may be.
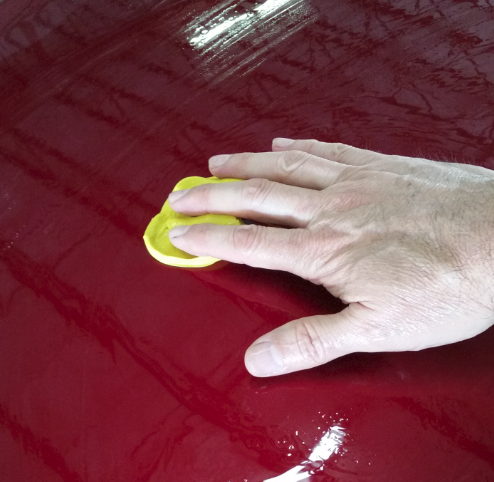
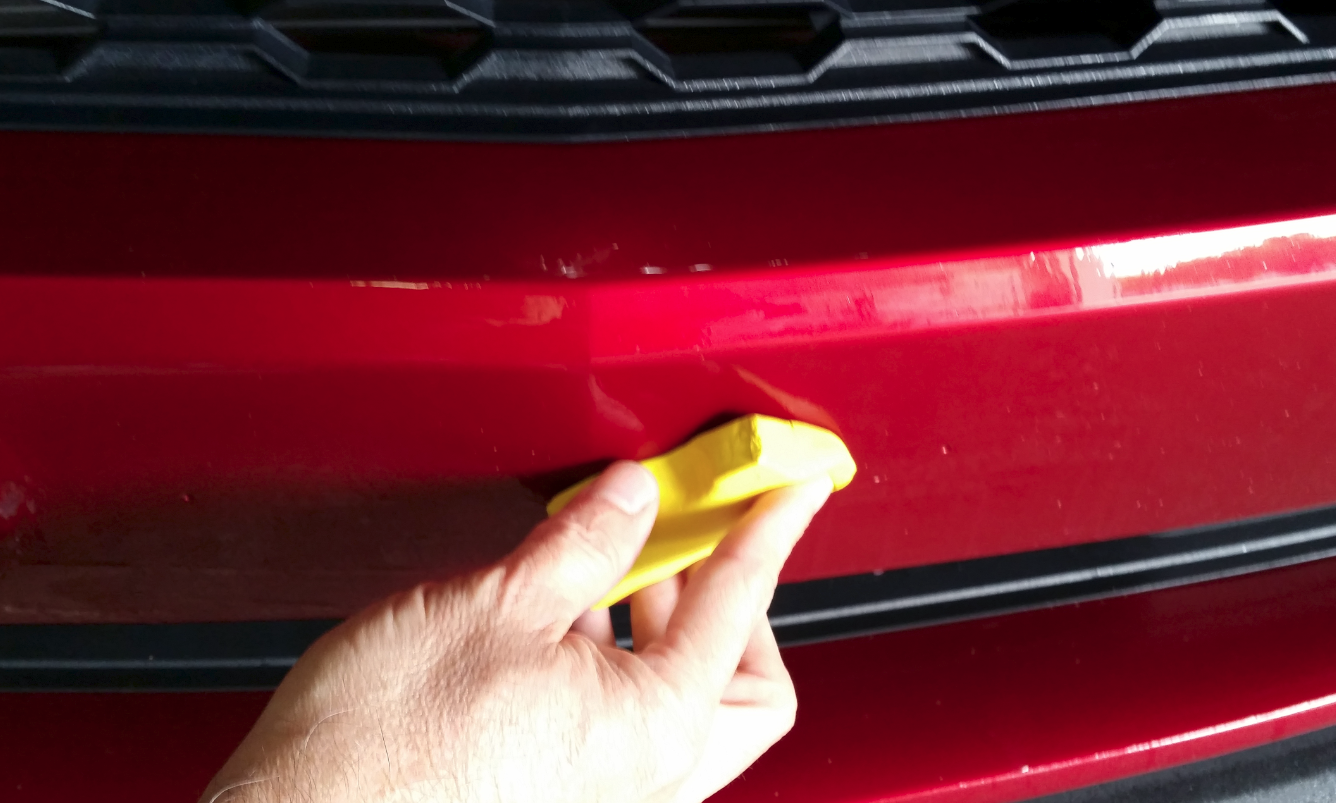
If you live in an area where there is industrial fallout, you may want to use a clay bar to clean the surface where you will be applying your racing stripes. A Clay bar also is very effective in removing bugs.
If you have access to compressed air, you can use it to blow off excess water. This is particularly handy in those crevices. You don’t want to have any water creeping out under your kit and possibly pulling dirt with it.
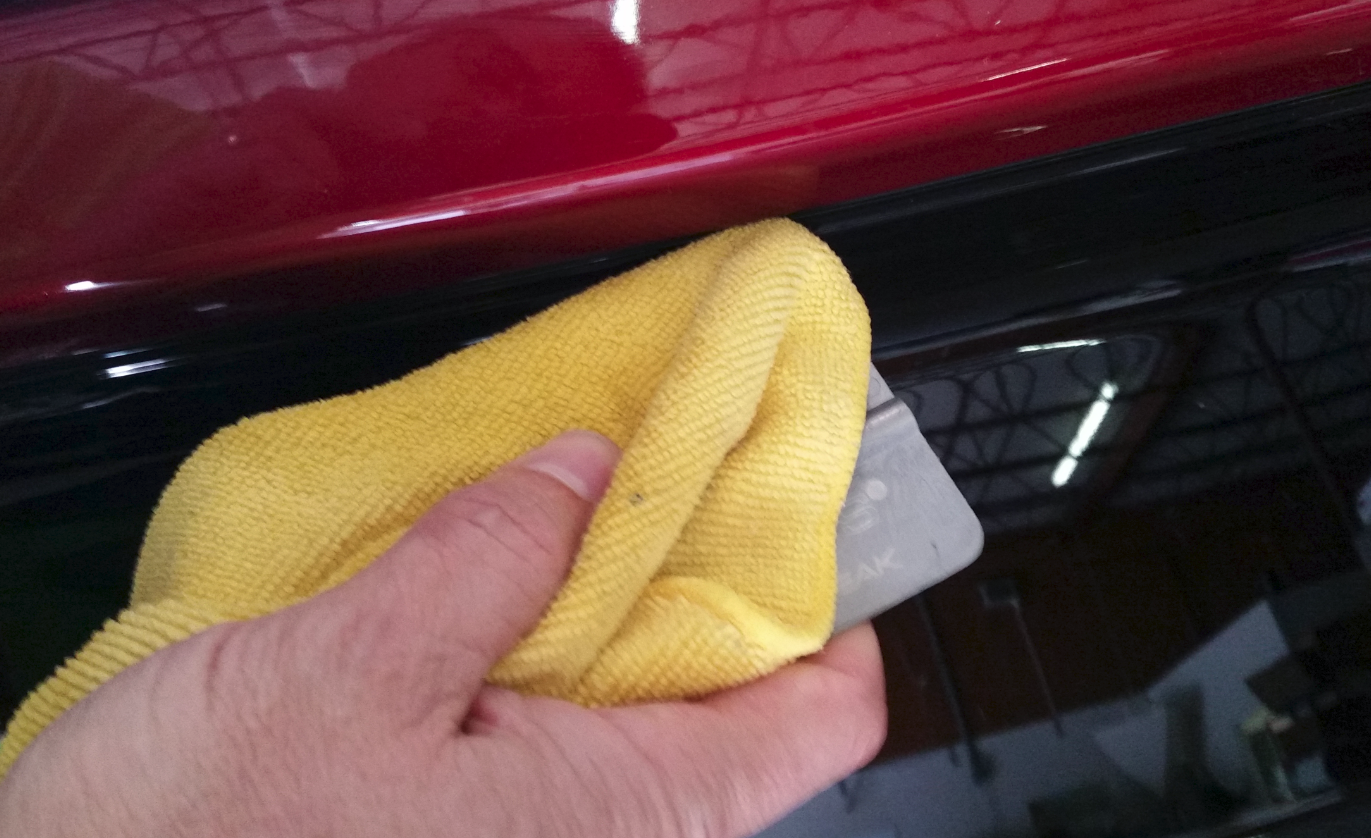
Now, after the surface is completely dry, wipe the entire surface with isopropyl alcohol. This will help to remove wax or oil. Make sure to get those cracks and crevices with a squeegee wrapped in a rag again. This will keep you from getting that dirt under your installation….. did I mention that it’s really bad? Now do the squeaky finger test. You should be able to drag a dry finger on the surface to achieve a squeaky clean feel. If not, use another cleaning rag with more alcohol and do it again.
Determine your center line. You can use a tape measure, but it may be easier to use masking tape since vehicles are rounded and can be difficult to measure with a ruler.
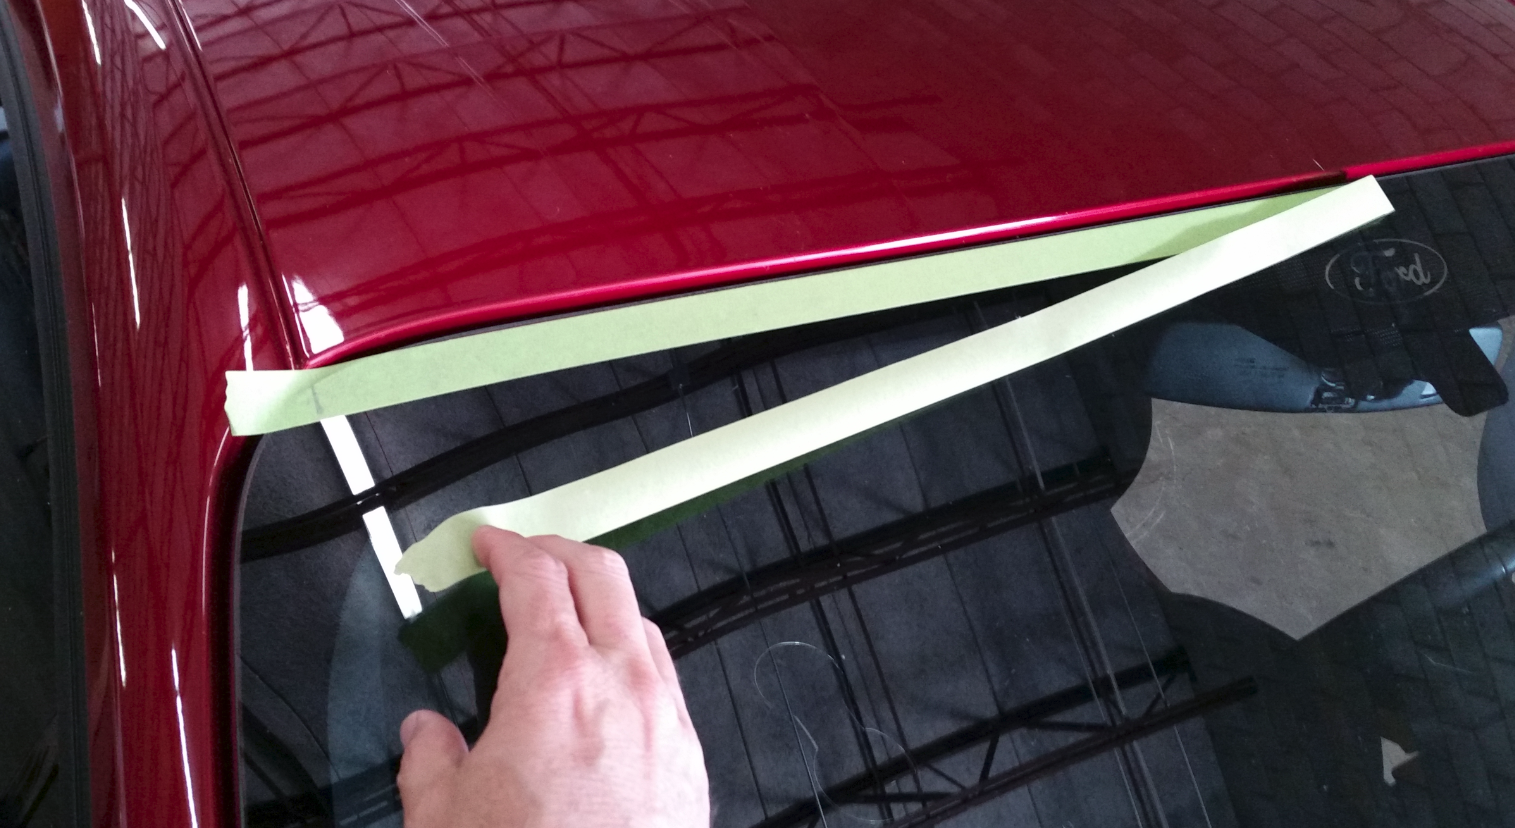
Using masking tape to find your center line is easy, just pull a line across the vehicle on each end where the stripe will terminate.
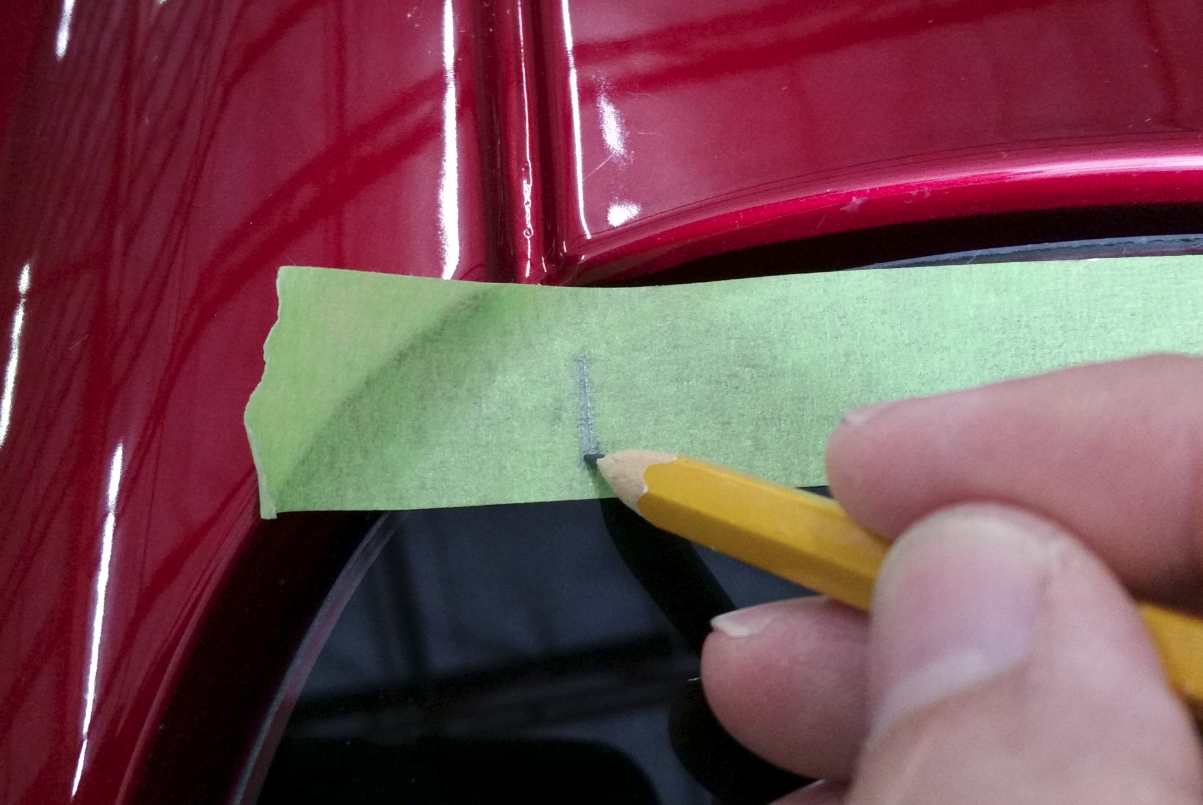
Make a pencil mark at each edge of the panel. You can use a body line, seam or edge for your mark. It doesn't matter as long as you do it the same on each side.
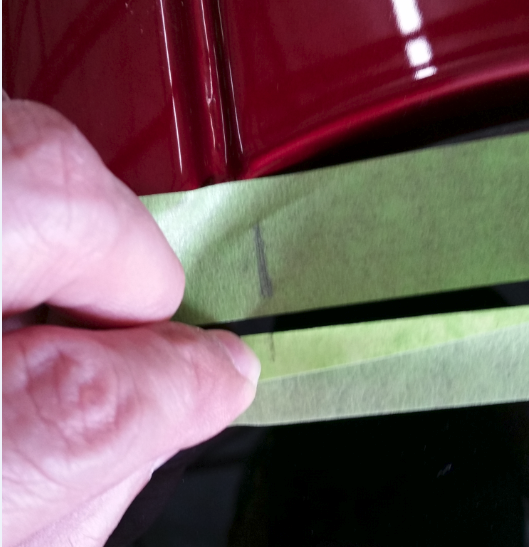

Next, fold the tape back against itself to divide the panel evenly. Line up your marks to find the center. You can use a wax pencil or another small piece of tape to mark it.
Do this in several locations in order to keep the line accurate. Then stretch your centerline across your marks. In the photo below, this kit uses a 1” masking tape line to provide correct spacing.

Follow this procedure on the hood, roof, trunk and bumpers if necessary.
You are now ready to move forward installing your racing stripes.

